


Quick answer: To secure your Apple ID login in 2026, make sure two-factor authentication is turned on, then generate a recovery key so you always have a way back in, and — most importantly — clean up your trusted phone number and trusted devices so no one can reset their way into your account. Then remove devices you don’t recognize and give your account a long, unique password stored in a password manager. You can do all of this in about twenty minutes in Settings under your name. Because every Apple Account now requires two-factor authentication, most of the risk that remains lives in your recovery settings — which is exactly where this checklist focuses.
Your Apple ID is not just the login for the App Store. It is your iCloud backups, your photos, your Messages, your Find My location, your saved passwords in iCloud Keychain, and the master switch for every iPhone, iPad, and Mac you own. If someone takes it over, they can read your messages, see where you are, lock your devices, and wipe them remotely. This guide walks through the settings that matter most, in the order that actually protects you, using the tools Apple offers in 2026.
Last updated: August 2026 · Written by Samuel Smith, a consumer technology writer and digital privacy researcher who helps everyday people lock down their Apple ID and iCloud accounts.
Step 1: Confirm two-factor authentication is on
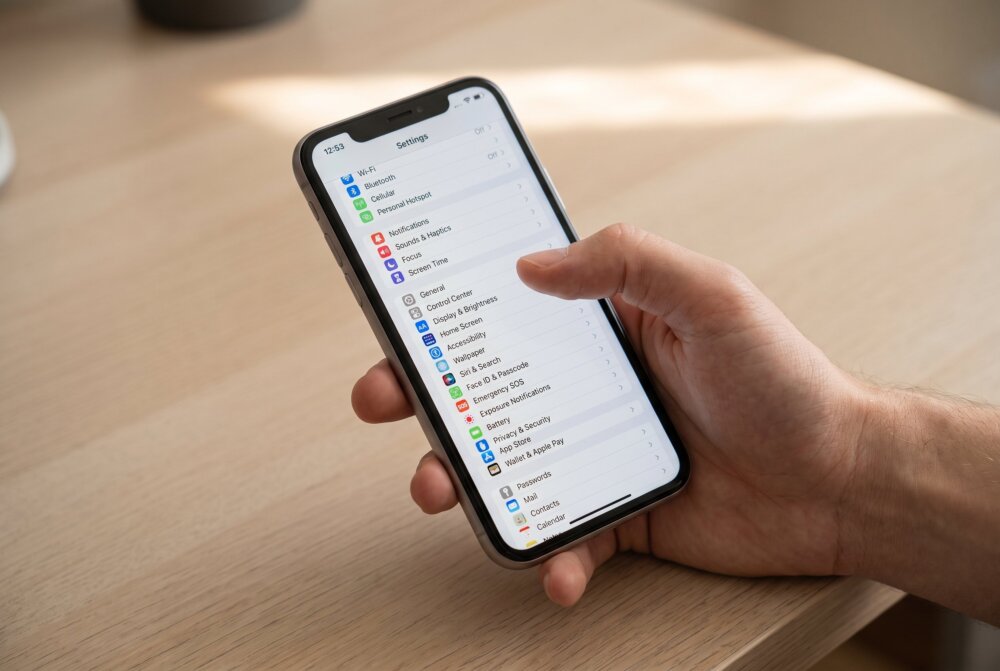
Two-factor authentication (2FA) is the foundation of Apple ID security. It means that signing in on a new device requires both your password and a six-digit code that appears on a device you already trust, so a stolen password alone is not enough. Apple now requires two-factor authentication on all Apple Accounts, so for most people it is already switched on — but it is worth confirming.
On your iPhone, open Settings, tap your name at the top, then tap Sign-In & Security. You should see “Two-Factor Authentication: On.” If for some reason it is off or your account predates the requirement, turn it on here and follow the prompts. If you want the bigger picture on how 2FA works across your accounts, our guide on setting up two-factor authentication walks through it in plain language.
Step 2: Add a recovery key so you’re never locked out
Here is the part people skip and later regret. If you ever forget your password and lose access to your trusted devices, you need a way to prove the account is yours. A recovery key is a 28-character code that does exactly that. Without one, you are relying on Apple’s account-recovery process, which can take days. With one, you hold the key yourself.
To create it, go to Settings → your name → Sign-In & Security → Recovery Key, tap Continue, and follow the steps. Write the code down and store it somewhere safe — ideally in more than one place, such as a locked drawer and a password manager. One important trade-off: once you turn a recovery key on, Apple can no longer help you reset the account without it, so if you lose both the key and access to your trusted devices, you can be permanently locked out. Store it carefully, and this becomes a strength rather than a risk.
Step 3: Fix your trusted phone number — the reset back door
You can have the strongest password and 2FA in the world, but if the phone number attached to your Apple ID is old, weak, or controlled by someone else, an attacker can use it to reset your account through the back door. Trusted phone numbers are only a safety net for you if they are current and secure.
Go to Settings → your name → Sign-In & Security → scroll to the trusted phone numbers section and confirm:
- Every number listed is one you still control — not an old line you gave up that a carrier could reassign to a stranger.
- You remove any number you don’t recognize. A number you didn’t add is a serious red flag that someone else has been in your account.
- You add a second trusted number you control (a family landline or a spouse’s phone you trust), so losing one phone doesn’t lock you out.
One warning that ties directly to phone numbers: text-message codes can be intercepted through SIM swapping, where a scammer convinces your carrier to move your number to their SIM. Your recovery key from Step 2 is what protects you if that ever happens, because it doesn’t depend on your phone number at all.
Step 4: Remove devices you don’t recognize
From experience: After a SIM-swap mess of my own, I was struck by how much faster Apple’s recovery is than most carriers — but the lesson stuck: check your trusted devices and trusted phone numbers first, because old ones linger, and sometimes even the phone you use every day isn’t actually marked trusted. And don’t switch on a recovery key casually — it adds real security, but lose that key and your trusted devices together and you can make recovery much harder.
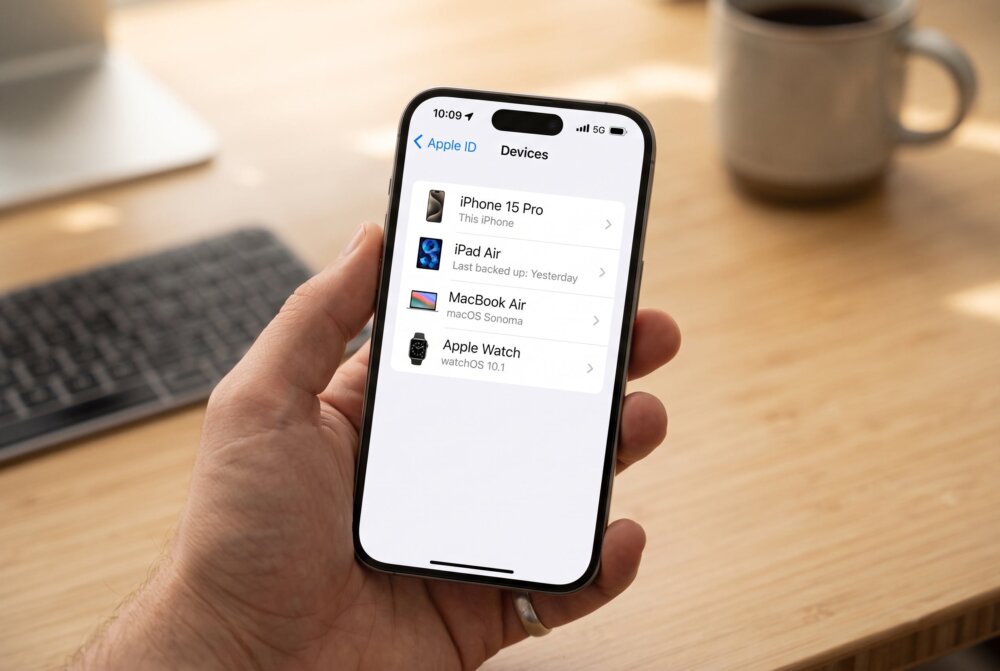
Scroll down in Settings → your name and you’ll see a list of every device signed into your Apple ID — iPhones, iPads, Macs, Apple Watches, even old devices you sold years ago. Tap through the list. If you see a device you do not recognize, an old phone you no longer own, or a Mac you got rid of, tap it and choose Remove from Account. That instantly cuts off its access to your account, your iCloud, and your Messages.
This is one of the fastest ways to boot out someone who quietly signed in months ago — a common way an ex-partner keeps reading your iMessages and seeing your location. If you’re worried you’re being watched more broadly, our guide on telling whether your phone is being tracked covers the wider picture.
Step 5: Give your account a strong, unique password
Your Apple ID password should be long, unique to this account, and stored somewhere you won’t lose it. If you reuse the same password you use elsewhere, a breach on any other site hands attackers the keys to your Apple account too. In Settings → your name → Sign-In & Security → Change Password, set a fresh passphrase of several unrelated words — long and memorable beats short and cryptic. Then save it in a dedicated password manager so you never have to reuse or write it on a sticky note again.
Step 6: Consider a hardware security key
If you want the strongest possible protection, Apple lets you add physical security keys to your Apple ID — small hardware devices like a YubiKey that plug in or tap via NFC. They use the FIDO2/WebAuthn standard, which makes them phishing-resistant by design: a fake login page simply cannot trick the key into approving a sign-in. This is overkill for many people, but if you’re a high-risk target — a journalist, a business owner, or someone leaving an abusive relationship — it’s worth the cost. You add them under Sign-In & Security → Security Keys, and you’ll need at least two so you have a backup.
Step 7: Lock down what your Apple ID exposes
Finally, review what your account shares even when it’s secure. Check that Find My is on (so you can locate or wipe a lost device) but that you’re not sharing your location with anyone you no longer want to. Turn on Stolen Device Protection, which adds a time delay and a Face ID check before sensitive changes can be made if your phone is taken while unlocked. For a fuller sweep of what your iPhone shares by default, our iPhone privacy settings guide walks through every toggle worth checking.
If your Apple ID has already been compromised

If you think someone is in your account right now, move fast and in this order: change your password from a device you trust, then immediately check and fix your trusted phone numbers, because an attacker who controls a recovery channel can reset the account even after you change the password. Remove every device and trusted number you don’t recognize, review whether Find My location is being shared, and turn on a recovery key so it can’t happen again the same way. If you’re locked out entirely, start Apple’s account recovery from iforgot.apple.com and answer the verification steps from a device and location you’ve used before. For the broader account-hardening picture across all your logins, see our guide on securing your phone accounts with 2FA.
Traveling soon? Lock down every device before you go.
Your phone, laptop, and tablet all carry your accounts, photos, and passwords — and every one of them is more exposed on hotel Wi-Fi, in airports, and away from home. Our free Travel Security Kit Builder walks you through a personalized checklist to protect whatever you’re taking with you.
Frequently asked questions
Do I really need a recovery key if I already have two-factor authentication?
They do different jobs. Two-factor authentication stops other people from signing in. A recovery key makes sure you can get back in if you forget your password and lose your trusted devices. Without one, you’re depending on Apple’s recovery process, which can take days. With one, you hold the proof yourself — just store it somewhere you won’t lose it, because Apple can’t reset the account without it once it’s on.
What happens if I lose my recovery key?
As long as you still have access to a trusted device and your password, you can sign in and generate a new recovery key. The danger is losing the key and access to all your trusted devices at the same time, which can lock you out permanently. That’s why you keep the key in more than one safe place, and keep at least two trusted devices or phone numbers on the account.
Can someone reset my Apple ID with just my phone number?
Your phone number is part of the recovery process, so a trusted number an attacker controls is a real risk — that’s why Step 3 matters so much. But with two-factor authentication and a recovery key in place, a phone number alone is not enough to take over your account. Keep your trusted numbers current and remove any you don’t recognize.
Is a hardware security key worth it for a normal person?
For most people, two-factor authentication plus a recovery key is plenty. A hardware key is worth the extra cost and hassle if you’re a higher-risk target — someone being harassed, a public figure, or a business owner whose account controls valuable data. If that’s you, add at least two keys so a lost one doesn’t lock you out.
Someone I don’t recognize is on my device list — what do I do?
Remove it immediately from Settings → your name, then change your Apple ID password from a device you trust and check your trusted phone numbers for anything you didn’t add. An unfamiliar device usually means someone has signed in with your password, so treat it as a full account takeover and re-secure every recovery setting.
How often should I check my Apple ID security settings?
Review them every few months, and any time you lose a device, change your phone number, sell an old iPhone, or get an unexpected sign-in alert. A quick check beats discovering a strange device or an unfamiliar trusted number after the damage is done.
Twenty minutes in your Apple ID settings today protects the single account that unlocks every Apple device you own. Start with your trusted phone numbers and a recovery key — those are the doors most attackers actually try.
Written by Samuel Smith, a consumer technology writer and digital-privacy researcher who helps everyday people lock down their Apple ID and iCloud accounts.