


Quick answer: To secure your Google account in 2026, add a passkey so you can sign in without a phishable password, turn on 2-Step Verification as a backup, and — most importantly — clean up your recovery email and phone so an attacker cannot reset their way in. Then remove any unfamiliar devices and review which apps have access. You can do all of this in about twenty minutes at myaccount.google.com under “Security.” Google saw compromised accounts drop by half after turning on 2-Step Verification by default, so these steps genuinely work.
Your Google account is not just Gmail. It is your photos, your contacts, your location history, your Android phone, your saved passwords, and the “Sign in with Google” button on dozens of other sites. If someone takes it over, they take all of that at once — and they can lock you out. This checklist walks through the settings that matter most, in the order that actually protects you, using the tools Google offers in 2026.
Last Updated: August 2026 | Samuel Smith writes about phone and account security, and has walked readers through Google’s passkey, 2-Step Verification, and Security Checkup tools.
Step 1: Add a passkey
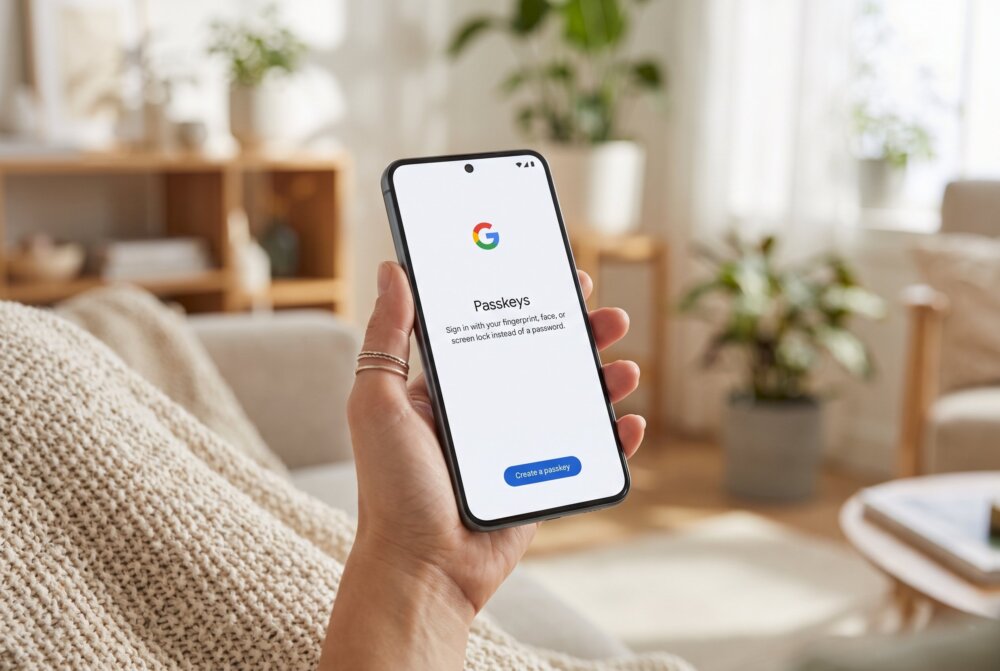
A passkey is the biggest upgrade you can make. Instead of typing a password that can be phished, guessed, or leaked in a breach, you unlock your account with your phone or computer’s own screen lock — your fingerprint, face, or PIN. Unlike passwords, passkeys cannot be shared, written down, or handed to a fake login page, which makes them far more resistant to phishing than SMS or app codes.
To add one, go to your Google Account → Security → “How you sign in to Google” → Passkeys, and follow the prompts on your phone. You can add passkeys on more than one device so you always have a way in.
Step 2: Turn on 2-Step Verification
For the strongest second step, add a hardware security key. A FIDO-certified key like the YubiKey 5 NFC plugs in over USB-A or taps via NFC, is phishing-resistant, and doubles as a passkey — so it covers both of the steps above.
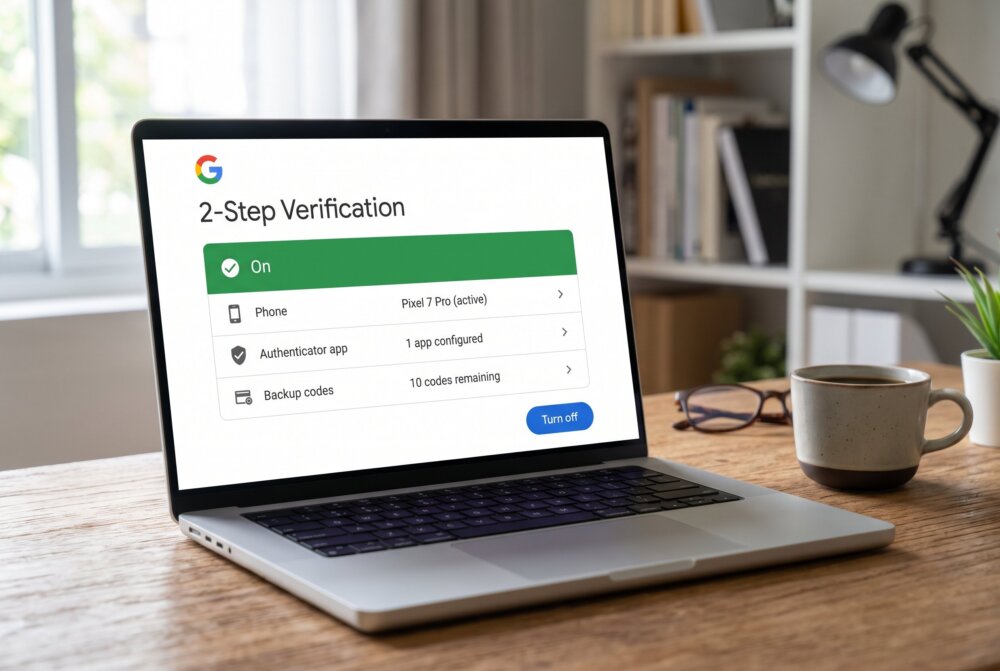
Passkeys are strong, but you still want 2-Step Verification (2SV) switched on as a second layer. Google specifically recommends pairing the two, because 2SV protects you if someone tries to claim a “lost” passkey and impersonate you. It is also what stops an attacker who somehow learns your password from walking straight in.
Under Security → 2-Step Verification, set it up and choose the strongest second factor you can: an authenticator app or a hardware security key rather than text-message codes, which can be intercepted through SIM swapping. Our guide on setting up two-factor authentication shows exactly how to move off SMS.
Step 3: Fix your recovery options — this is the step people skip
Here is the part almost everyone gets wrong. You can add the strongest passkey and 2FA in the world, but if your recovery email or recovery phone number is old, weak, or controlled by someone else, an attacker can reset your account through the back door. Recovery methods are only a safety net for you if they are current and secure.
Go to Security → “Ways we can verify it’s you” and confirm:
- Your recovery email is an address you still control and have secured with its own strong password and 2FA.
- Your recovery phone number is your current number — not an old one that could be reassigned to a stranger.
- You have saved a set of backup codes somewhere safe (a password manager or a printout) in case you lose your phone.
Google now also offers Recovery Contacts — you can name up to 10 trusted people who can help verify your identity if you are locked out. They never gain access to your account or your data; they simply help prove you are you. Adding one or two people you trust is a smart backup.
Step 4: Remove devices you don’t recognize
From experience: the biggest surprise for me was an old phone still sitting on my account — a factory reset doesn’t remove a device from your Google account. You have to sign it out from the account’s device list yourself.
Under Security → “Your devices,” Google lists every phone, tablet, and computer currently signed into your account. Scroll through it. If you see a device you do not recognize, an old phone you sold, or a laptop you no longer use, click it and choose “Sign out.” That instantly cuts off that device’s access. This is one of the fastest ways to boot out someone who quietly logged in months ago — a common way an ex-partner keeps reading your email. If you are worried about being watched more broadly, our guide on telling whether your phone is being tracked covers the wider picture.
Step 5: Audit third-party app access
Over the years you have probably clicked “Sign in with Google” or “Allow access” for all sorts of apps and services. Some of them can read your email or files. Go to Security → “Your connections to third-party apps & services” and review the list. Remove anything you do not recognize, no longer use, or that has more access than it needs. Fewer connections means fewer ways in.
Step 6: Run the Security Checkup
Google bundles most of this into a single tool at myaccount.google.com/security-checkup. It flags weak spots — missing recovery info, risky app access, recent security events — and walks you through fixing them. Run it now, and run it again every few months. It is the easiest way to stay on top of changes without remembering every setting yourself.
If your account has already been hacked
If you think someone is in your account right now, move fast and in this order: change your password from a device you trust, then immediately check and fix your recovery email and phone, because an attacker who controls your recovery channel can reset the account even after you change the password. Sign out all other devices, review third-party access, and check your Gmail settings for any sneaky forwarding rules or filters the attacker may have added to quietly copy your mail. Google’s “Recover a hacked account” page (google.com/accounts/recovery) guides you through the rest. Once you are back in control, complete steps 1 through 3 above so it does not happen again.
Traveling soon? Lock down every device before you go.
Your phone, laptop, and tablet all carry your accounts, photos, and passwords — and every one of them is more exposed on hotel Wi-Fi, in airports, and away from home. Our free Travel Security Kit Builder walks you through a personalized checklist to protect whatever you’re taking with you.
Frequently asked questions
Do I still need a password if I use a passkey?
Your account keeps a password as a fallback, but you can sign in with just the passkey day to day. The important thing is to make sure the fallback password is long, unique, and stored in a password manager — and to keep 2-Step Verification on so the password alone is never enough.
Are passkeys really safer than 2FA codes?
For phishing, yes. A passkey cannot be typed into a fake site or intercepted the way a texted code can, because it is tied to your device and the real Google login. Google still recommends keeping 2SV on alongside passkeys as a second layer, especially to guard the recovery process.
What is a Recovery Contact and can they read my email?
A Recovery Contact is someone you designate to help confirm your identity if you get locked out. They cannot see your email, files, or any personal information — they only help verify that the person trying to recover the account is really you.
Why does my recovery phone number matter so much?
Because account recovery often runs through it. If your recovery number is an old line you gave up, a carrier can reassign it to a stranger who could then use it to reset your account. Keep it current, or replace it with an authenticator app and backup codes.
How often should I check my Google security settings?
Run the Security Checkup every few months, and any time you lose a device, change your phone number, or get an unexpected security alert. A quick review beats discovering a strange device or forwarding rule after the damage is done.
Someone changed my recovery info — what do I do?
Use Google’s account recovery page and answer the verification steps as best you can, ideally from a device and location you have used to sign in before. Once you regain access, reset your password, remove unknown devices, and re-secure every recovery method before doing anything else.
Twenty minutes in your Google security settings today protects the single account that unlocks the rest of your digital life. Start with the recovery options — that is the door most attackers actually use.